

Make Your First Contribution
Thank you for your interest in contributing to MatrixOne. Contributions are welcome from everyone.
This document will help you get started on your first contribution to MatrixOne.
How to Contribute?
Before setting out contributions, you need to figure out what area you are trying to help us in. You can see Types of contributions for more details.
As your first-ever contribution, it can be selected from the following categories which require little technical background of the contributor:
To report a bug in the code
To improve the MatrixOne documentation
File an issue to describe the problem before working on it. In addition, you will also find issues labeled with good-first-issue, which represents issues suitable for new contributors. Such Issues contain clear steps and expected output. You may start your first contribution based on these issues.
Assign Your Issue
It’s difficult to report an issue when you are just a newcomer on account of little knowledge of MatrixOne or relative contents, so we list good-first-issues suitable for new contributors to work with and be easy to fix.
After deciding on a suitable issue to work on, you can comment /assign on the issue you would like to work on, and you will be automatically assigned to the issue. You can then find yourself listed under the Assignees section.
Prerequisite
Before working on the issue you are assigned, please make sure you have set up a development environment and installed MatrixOne.
You can see Preparation for more details.
Workflow
Step 1: Fork the Repository
Visit our Github Repository.
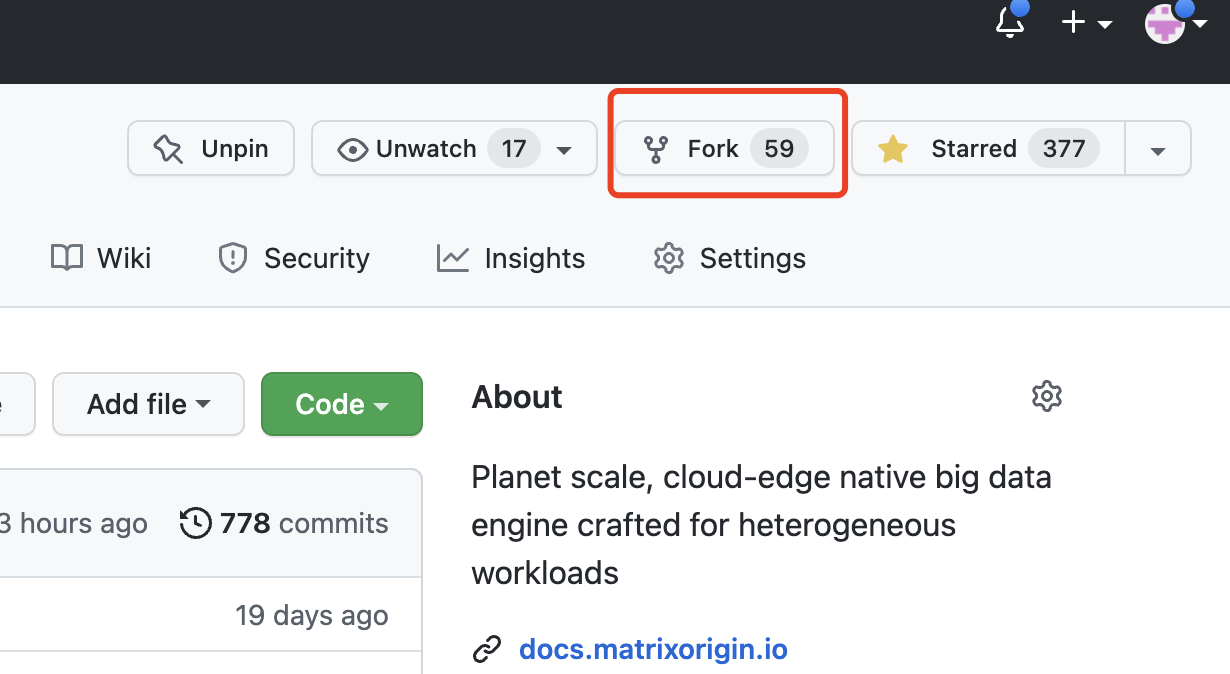
On the top right of the page, click the Fork button (top right) to create a cloud-based fork of the repository.
Step 2: Clone fork to local storage
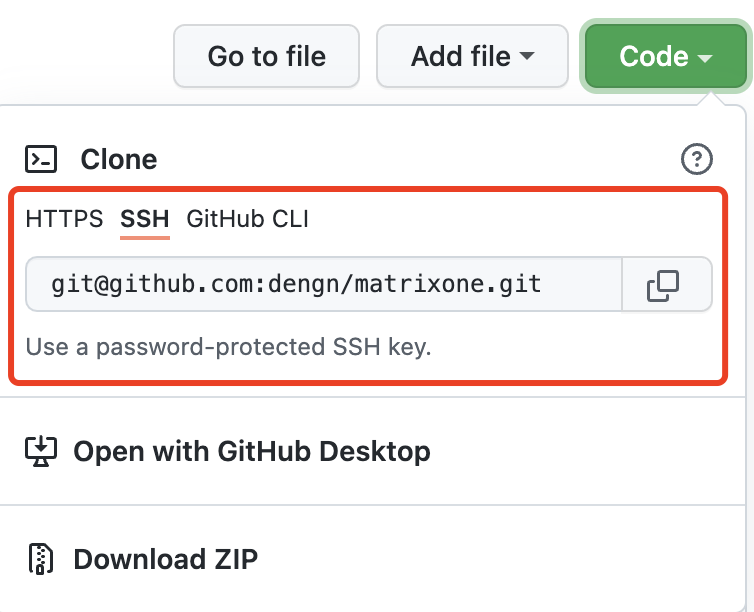
Open the repository you forked from MatrixOne. Click on the Code button and then the Copy to Clipboard icon.
Next, move to the working directory you expect in local and launch your terminal. Run the following Git command:
git clone <content you just copied>
For example:
git clone git@github.com:<yourname>/matrixone.git
<yourname> is the ID you signed in at GitHub. This Git command downloads the content of MatrixOne repository you forked on GitHub to your local device.
Step 3: Add MatrixOne repo as a remote repository
You can add MatrixOrigin/MatrixOne repository as a remote repository in local with:
git remote add upstream https://github.com/matrixorigin/matrixone.git
upstream is the designation of this remote repository. If you want to replace it with other words you want, don’t forget to replace it as well in the next steps, or some errors will happen.
Step 4: Develop
Make some changes
Create a topic branch, then make the code changes for your issue. Documentation changes belong in the separate matrixone-doc repository; see the documentation contribution guide.
Run MatrixOne in a standalone mode
If you want to demonstrate whether the changes you made are valid or produce an issue, you need to run MatrixOne in a standalone mode.
Before running, make sure you have deployed MatrixOne according to our Deploy standalone MatrixOne.
Step 5: Commit to your local repo
Having completed your modification, you can add the files you just modified using the git add command:
git add <filename>
<filename> is the name of the file you just modified.
And you can use the following command to add all the files in the current folder:
git add .
Next, you can commit these changes using the git commit command:
git commit -m "<commit message>" -s
Summarize and describe your modification briefly in the place of <commit message>.
-s adds your sign-off message to your commit message.
Step 6: Push to your remote repo
After committing your modification, you should push your local branch to GitHub using the git push command, and we recommend you to push to a new branch:
git push -u origin topic-branch
topic-branch is your working branch; replace it with your own branch name.
Step 7: Create a pull request
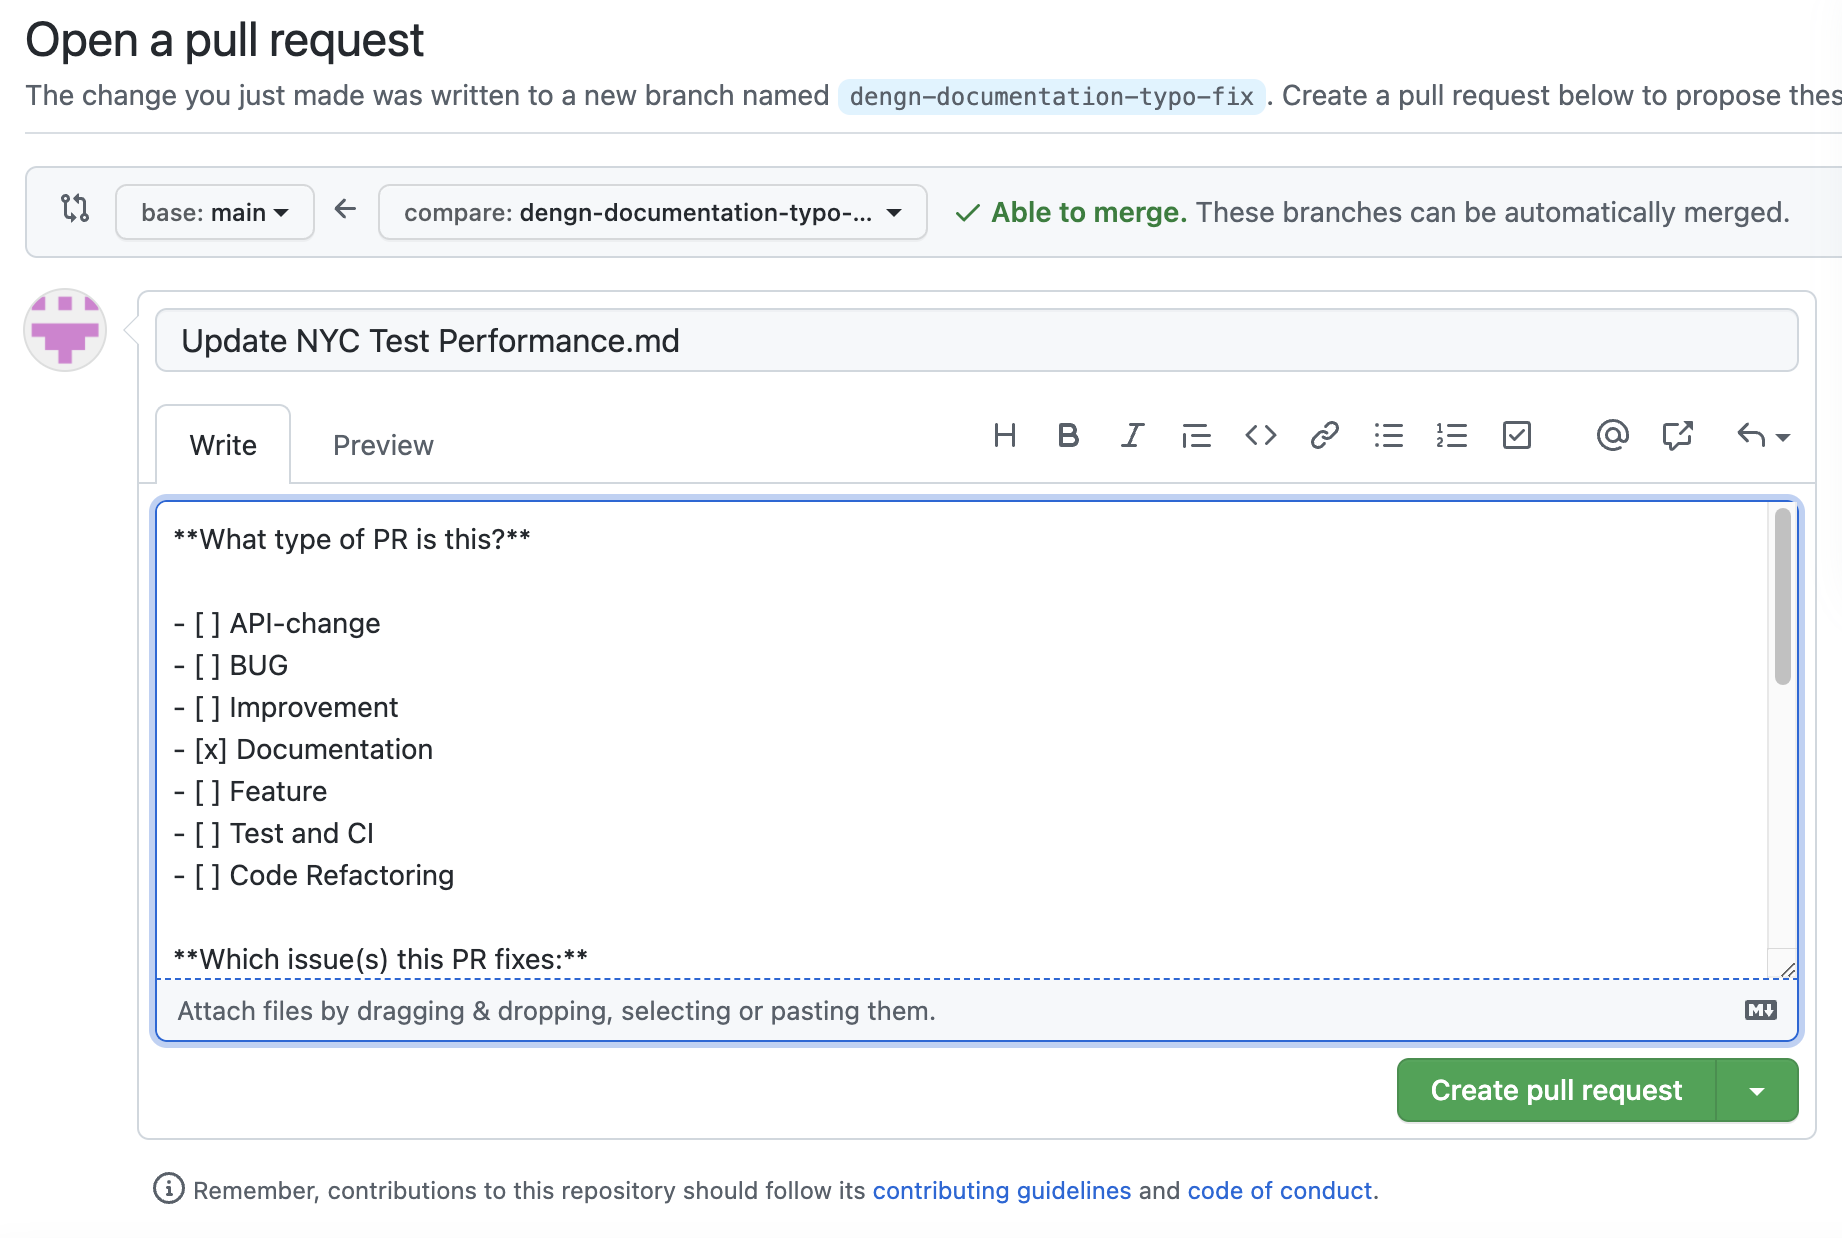
Having pushed your changes, visit your fork and click Compare & Pull Request to create a pull request from topic-branch to the appropriate upstream branch.
Note
You should fill in the required information based on the PR template.

Once your PR is opened, it will be assigned to reviewers. These reviewers will check your contribution and do a detailed review according to the correctness, bugs, style, sand so on.
Step 8: Keep your fork in sync
After the PR is merged, fetch upstream and inspect its history before updating your local or forked main. Keep your topic branch until it is no longer needed; do not force-push over main.